The Core Technologies Blog

Professional Software for Windows Services / 24×7 Operation


Service Protector Feature Spotlight: Restart A Stuck Service

Restart Stuck Services

Why should Service Protector restart a service that’s stuck starting or stopping?

When a Windows Service is in the “Starting” or “Stopping” status, it’s probably not be doing its work. For all intents and purposes, your service may be down during those periods.

Usually that’s not a problem though, because services typically move through those transitory states very quickly. In our experience, a service isn’t in the starting or stopping state for longer than a couple of seconds — while it opens network connections, connects to a database, shuts down cleanly or performs another important one-time task.

But there are unfortunate occasions where a service takes too long to start or stop. And in those situations, the only cure is to forcibly terminate and restart the service.

As part of its mission to keep your Windows Service running 24/7, Service Protector has code to automatically detect and terminate a stuck service. We recommend activating that feature if you’re managing a service that has trouble moving in or out of the running state quickly.


How do I activate the feature in Service Protector?

When adding (or editing) your service, you can instruct Service Protector to deal with the stuck states on the Extras tab:

Enable stuck service protection

With the settings in the screenshot above, Service Protector will terminate and restart your service if it lingers in the “Starting” or “Stopping” state for longer than a minute.

In our experience, 60 seconds is about right for most services. Under normal situations, it’s rare for a Windows Service to take much more time as it starts or stops.


What are your best tips for handling stuck services?

Tip #1: Adjust the timeouts for your service

While the default timeout of 60 seconds will suit most customers’ needs, every Windows Service is unique. As such, you should definitely tune the timeouts for your specific situation.

For instance, if your service takes a while to initialize — perhaps because it has to negotiate complex operations in a distributed environment — you should increase the starting timeout to compensate.

Tip #2: Setup email alerts to identify “flapping”

With this feature in place, Service Protector will automatically restart your service whenever it gets stuck for too long. Usually that timely restart is enough to get things moving again.

But sometimes restarting isn’t the answer. We’ve seen situations where the service simply got stuck again and repeatedly restarting did no good. Manual intervention was required.

We recommend setting up email alerts to help you detect edge-case situations like that. That way, if you see Service Protector continuously restarting your stuck service, you can jump in to save the day.


Posted in Service Protector | Tagged , , , | Leave a comment

Service Protector 10.5 Restarts your Windows Services when Critical Events Occur

Service Protector 10.5 Restarts your Windows Services when Critical Events Occur

To cap a very busy 2024, our team released Service Protector 10.5 on December 20. Happy holidays to you and yours!

Here’s what’s new in this release.

Automatically restart your Windows Service if a “bad” event is logged

One of the most unique features built into Service Protector is the ability to restart your service whenever something important goes wrong. In fact, you can install a sanity check, to constantly interrogate your service and quickly detect when things go off the rails.

Version 10.5 introduces a powerful new sanity check. With our latest addition, you can automatically recycle your Windows Service whenever one or more critical Windows events are reported.

The new sanity check is most helpful when external/system changes can impact your important Windows Services. For example, you can instruct Service Protector to restart your service if any of the following security events occur:

You may want to check out the hundreds of Windows security events to see if any should trigger your service to restart.

How to watch out for critical events

The new sanity check is very easy to set up. Here’s the process, step by step:

  1. Edit your service in Service Protector.

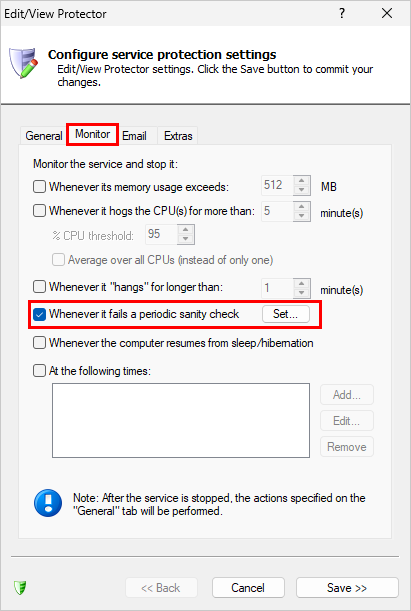
  2. Switch to the Monitor tab.

  3. Check the Whenever it fails a periodic sanity check box and click the Set button:

    Enable the sanity check feature
  4. In the Add Sanity Check window that comes up, choose the Check for one or more adverse Windows events entry from the list:

    Choose the check for adverse events sanity check

    Click Next to move on.

  5. We’ve arrived at the main configuration page for the sanity check. Choose the Windows Event Log to monitor and enter one or more events to watch out for.

    In this screenshot, we’ve targeted a couple of events in the Security log:

    Select the Windows Event Log and the enter the event IDs

    Click Next to move on.

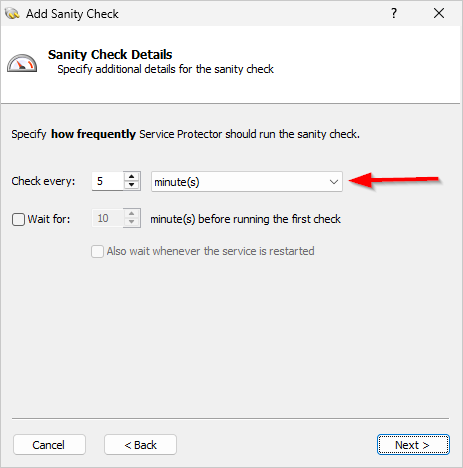
  6. On the following screen, specify how often to check the event log. Every 5 minutes works for our situation:

    Specify how often to check the Windows Event logs

    Click Next to go to the next page, confirm your settings and complete the process.

Sorting!

If you’ve installed many services, you can now sort the list of protectors from the header.

Any of the three columns — Service, Service State or Protection — can be designated. Simply click the column header to sort your services or to change the direction of the sort. The caret ( or ) will show you which column is sorted.
For example, the Protection column is sorted ascending (A-Z) in this screenshot:

Services sorted by Protection, ascending

Clicking the Protection header again will reverse the sort, to order rows descending (Z-A):

Services sorted by Protection, descending

Note that the sort order is “sticky”, meaning that it’s remembered across runs of Service Protector.

Other fixes & improvements

  • Full support for the official release of Windows Server 2025 (build number 26100.2605). Older builds of Service Protector are also compatible with Server 2025, but this one’s the best so far. 🙂

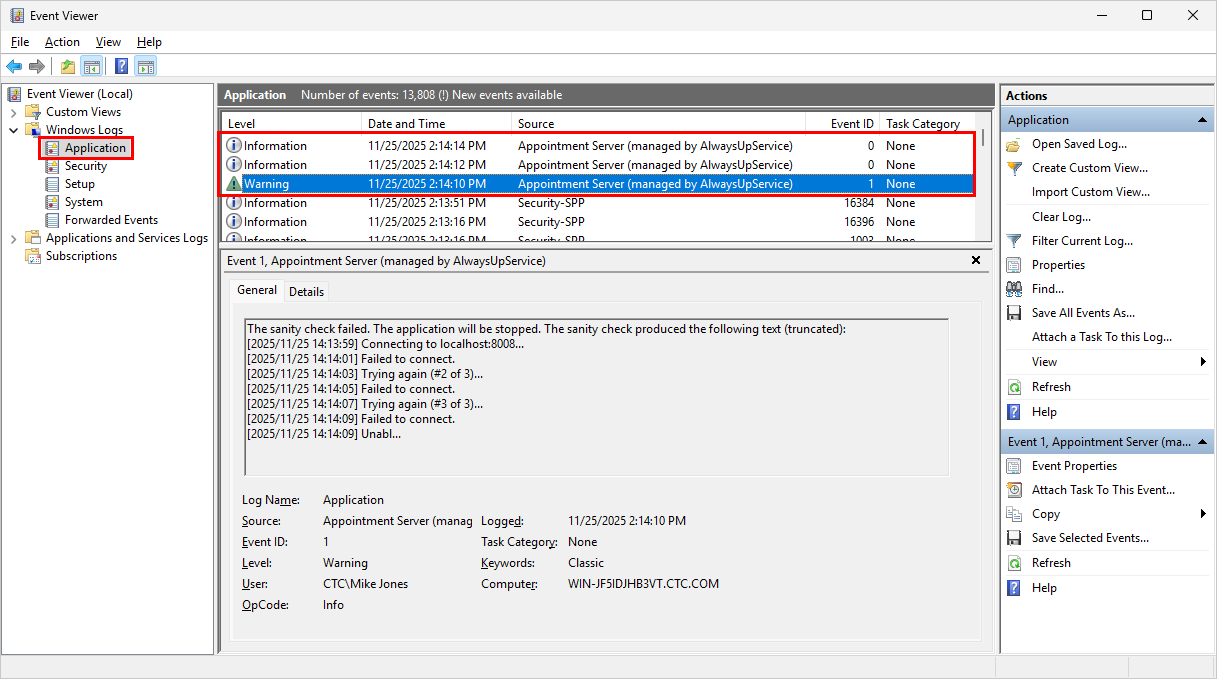
  • To help troubleshoot your sanity checks, the full transcript is written to the Windows Event Log whenever a sanity check fails. That report will highlight exactly what went wrong.
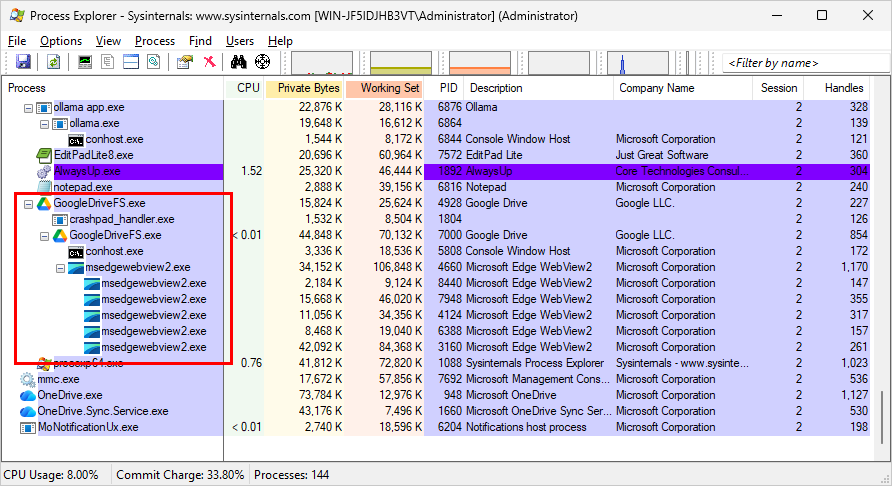
    For example, you may see a message like this reported when the check website sanity check fails:
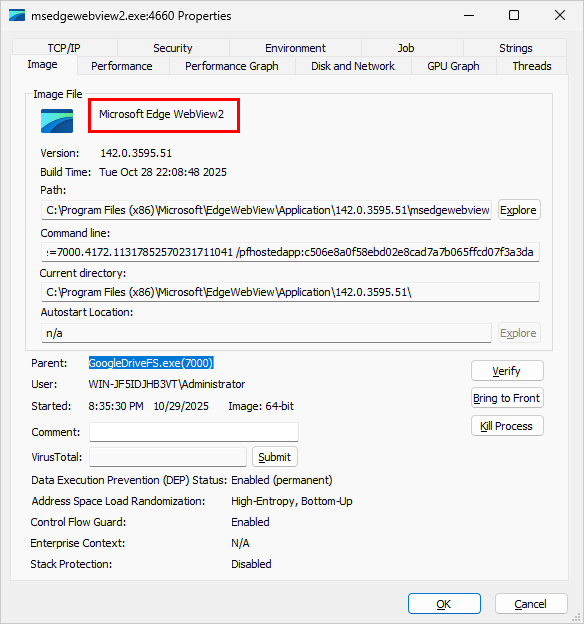
    The check website sanity check failed

    Happy debugging!

As usual, please review the release notes for the full list of features, fixes and improvements included in Service Protector version 10.5.

Upgrading to Service Protector 10.5

If you purchased Service Protector version 9 (after April 2023), you can upgrade to version 10 for free. Simply download and install over your existing installation to preserve your existing services and all settings. That way, your registration code will continue to work.

If you bought Service Protector 8 or earlier (before April 2023), you will need to upgrade to use version 10.

Please buy upgrades here — at a 50% discount.

See the complete upgrade policy for more details.

Enjoy!

Posted in Service Protector | Tagged , , , | Leave a comment

Essential Windows Services: Microsoft Defender Antivirus Service / WinDefend

Microsoft Defender Antivirus Service

What is the Microsoft Defender Antivirus (WinDefend) Windows Service?

The WinDefend service is part of Microsoft Defender Antivirus — a real-time, anti-malware solution distributed with the Windows operating system.

On computers where Microsoft Defender is the primary antivirus deployed, the WinDefend service is set to start automatically at boot. Furthermore, Windows sets permissions to make it nearly impossible for anyone to stop the service:

WinDefend starts automatically at boot

However, on systems where another antivirus package is in charge, the Microsoft Defender Antivirus service takes a back seat. Instead of starting automatically, the service will start manually — only on demand:

WinDefend will start on demand

And as you can see in the screenshot above, the service isn’t “locked down” either. An administrator can easily start, stop or restart it.


What happens if I stop WinDefend?

It depends on how your system’s configured.

If you have another antivirus package installed…

First, if you’ve installed another antivirus package, stopping the WinDefend service won’t cause any problems. In fact, it’s probably better not to run the service, to avoid conflict with your main virus protection software.

For example, we rely on Avira Security to protect our PC. And things work beautifully when the Defender Antivirus Windows Service is stopped:

The WinDefend service is stopped when Avira Security is installed

If Defender is the primary/only antivirus package installed…

On the other hand, if Microsoft Defender is the primary antivirus package protecting your computer, it will be difficult to stop the WinDefend service. That’s by design; Microsoft wants to ensure that your computer is always protected from attack. As such, you’ll notice that the service is “unstoppable” from the Services application:

The Microsoft Defender Antivirus service is unstoppable

And any attempts to stop WinDefend with the NET or SC commands will fail with “access is denied” errors:

Access denied when stopping WinDefend

But if you’re the persistent type and you do manage to stop the WinDefend service — perhaps by following this helpful video — the effect will be straightforward. Your computer won’t be protected from malicious actors. Please be careful, especially if you’re connected to the Internet!


Is it OK to disable the Defender service?

Again, it depends on your situation and what you’re willing to accept.

You can easily disable the Defender service if you have a third-party antivirus package installed. That’s completely fine.

But if Defender is your only line of defense, disabling WinDefend will leave your computer vulnerable to attack. Is that acceptable in your situation? Only you can say.


Questions? Problems?

If you would like to know more about the Microsoft Defender Antivirus service, or you have a specific problem, please feel free to get in touch. We’ll do our best to help you!

Posted in Windows Services | Tagged , , , , | Leave a comment

Q&A: With AlwaysUp, Where Do My Application’s Debug Messages Go?

With AlwaysUp, Where Do My Application's Debug Messages Go?
  We have installed AlwaysUp in a number of our Windows servers, and it works great.

We have a specific application that outputs debugging messages that are usually visible in the Windows Debug console view via the Sysinternals DebugView or DebugView++ desktop applications.

When we start the same application from AlwaysUp, I don’t see the debug messages in the DebugView console. Do you know where they go?

— Giovanni

Hi Giovanni, thanks for getting in touch.

We’ve seen this problem before. To explain in a sentence, you’re not seeing your applications debug messages because AlwaysUp is running your application in Session 0 while DebugView is monitoring your logon session.

But that’s a mouthful! Let’s try to explain what it means. 🙂

Windows Sessions, in a nutshell

To understand what’s going on, it’s important to be aware of Windows sessions and how they work. In case you could use a refresher on this very technical topic, here are a few facts about sessions:

  1. When you log in to your computer, Windows creates a new session for you. That session stays open until you log out — or Windows restarts. You can think of a session as the “container” for your entire login experience.

  2. A session holds your desktop and all the programs you launch. Indeed, every application you start runs in your session.

  3. By design, Windows allows programs running in the same session to communicate freely. However, because of security restrictions, applications running in different sessions cannot easily interact.

    For example, an application running in your session cannot use the popular EnumWindows API function to list the top-level windows in someone else’s session. Windows simply disallows that overreach.

  4. Sessions are numbered. The first person to log in to the computer is given Session 1 (“the session with ID 1”). The next person to log in is assigned Session 2, and so on.

  5. When your computer boots, Windows automatically creates a special session, called Session 0. All Windows Services — which may start at boot before anyone logs on — run in Session 0.

    Session 0 is sometimes called the “console” or “background” session because of the special role it plays.

And with that framework in place, let’s return to your specific situation.

DebugView and your application are running in different Windows sessions

When you logged into your PC — either using the keyboard and mouse or remotely via RDP — Windows created a new session for you. Let’s say it’s Session 1 (but it could just as well be Session 2 or 3 if you weren’t the first person to log in after boot).

So when you start DebugView on your desktop, Windows launches it in Session 1. DebugView comes up visibly on your desktop, like any other application you start.

Similarly, when you start your application normally (without AlwaysUp), it will likely pop up on-screen as well. And DebugView will log its debugging messages, as expected.

But the situation is different when AlwaysUp runs your application. Instead of starting it visibly on your desktop, in Session 1, AlwaysUp starts your application in Session 0 — the session created at boot. Recall that’s where all Windows Services operate.

In that situation, DebugView will not capture messages from your application. That’s because DebugView is only monitoring applications running in Session 1 — the same session where it’s running.

The solution: Configure DebugView to capture messages from Session 0

Fortunately there’s a simple fix:

  1. Start DebugView.

  2. Select the Capture menu and ensure that Capture Global Win32 is checked:

    Capture Global Win32 in Sysinternals DebugView

With that option active, DebugView will capture messages from all Windows sessions — not only the session where it’s running.

The somewhat dated DebugView help file explains what’s going on this way:

 If you run DebugView in a remote logon session of Windows 2000 Terminal Services, DebugView adds a Capture Global Win32 menu item to the Capture menu. Whereas the Capture Win32 menu item and associated toolbar button enable and disable capture of debug output in DebugView’s local logon session, the Capture Global Win32 menu item lets you enable and disable the capture of debug output that is generated in the console (global) session. Win32 services run in the console session, so this feature lets you capture the output that services generate even when you are running DebugView in another logon session.

You can capture debug messages from all sessions with DebugView++ too

DebugView++ provides a similar Capture Global Win32 option, which is on by default. It’s available under the Log menu:

Capture Global Win32 in DebugView++

So you’re free to use either tool when running your application as a Windows Service with AlwaysUp.

Happy debugging!

Posted in AlwaysUp | Tagged , , , , | Leave a comment

Windows Service Scheduler 3.0: Support for Disabled Tasks, Server 2025

Windows Service Scheduler 3.0: Support for Disabled Tasks, Server 2025

If you’d like to start, stop or restart a Windows Service on a schedule, do yourself a favor and check out our free Service Scheduler utility. You’ll be up and running in no time!

Version 3 of our easy-to-use program — which was released on November 4 — allows you to temporarily disable your tasks (so that they don’t run) and includes additional helpful enhancements to control your services. The release notes documents all the changes in this new version but we’ll review the top three highlights for you here.

#1: Easily disable your Windows Service tasks

Service Scheduler now supports disabling your service tasks. And that may come in handy during maintenance or at other times when your services shouldn’t run.

For example, suppose you’ve set up a task to restart the Print Spooler service every morning at 8 AM. That’s a good idea, to ensure that your printing systems are refreshed and ready for a full day of work.

But what happens if you decide to take the spooler down for a day to perform necessary upgrades? If you don’t do anything, Service Scheduler will still try to start the service at 8 — which might cause problems.

With previous versions of Service Scheduler, the only way to avoid the errant restart would be to remove the service task. And once the maintenance was complete, you’d have to set it up all over again. Even though that’s not difficult to do, it’s not the most efficient solution.

By supporting the ability to disable and later enable your tasks, Service Scheduler version 3 offers a much better approach. In the spooler scenario above, you’d simply disable the task at the start of your maintenance window and re-enable it afterwards.

You can quickly disable a task from the menu. Simply highlight the entry and choose Disable from the Service Task menu:

Disable a Service Task

Once disabled, the entry will be displayed in an italics font — to indicate its inactivity:

The Service Task is disabled

In this state, your service operation won’t be triggered and the task will remain dormant. Indeed, you’ll notice that the “Next” column is empty because no runs are planned.

When you’re ready to reactivate the task, choose Service Task > Enable:

Enable a Service Task

Afterwards, your task will be queued to run at the given time (which you will see in the “Next” column):

The Service Task is enabled

Note that you can also enable or disable your task when editing it:

Edit the task to disable/enable

As you’ve seen, the new feature is very easy to use.

#2: Hide the header

One of our colleagues relies on Service Scheduler to trigger over 50 service operations. She can barely fit the rows on screen!

To make life a bit easier for her, we added the option to remove the header above the list of service tasks. To do so, simply select un-check the View > Header menu item:

Service Scheduler: Hide the header

Afterwards, you’ll have more screen space to devote to your service task rows:

Service Scheduler: Header hidden

#3: Run worry-free on Windows Server 2025

Finally, we’ve made sure that Service Scheduler runs flawlessly on preview releases of Windows Server 2025. You shouldn’t have any trouble when Microsoft releases their new operating system later this year (or early next year).

Enjoy!

Posted in Service Scheduler | Tagged , , | Leave a comment