By default, LucidLink Classic starts when you sign in to your computer.
That's fine for most cases but that approach relies on you being there to sign in whenever your computer starts —
even after an unexpected reboot. Otherwise, if you're not around, your files won't synchronized with your teammates.
To eliminate that problem, you can configure AlwaysUp to launch LucidLink automatically in the background as a Windows Service,
as soon as your computer boots.
-
Download and install the LucidLink Classic Windows
desktop application, if necessary.
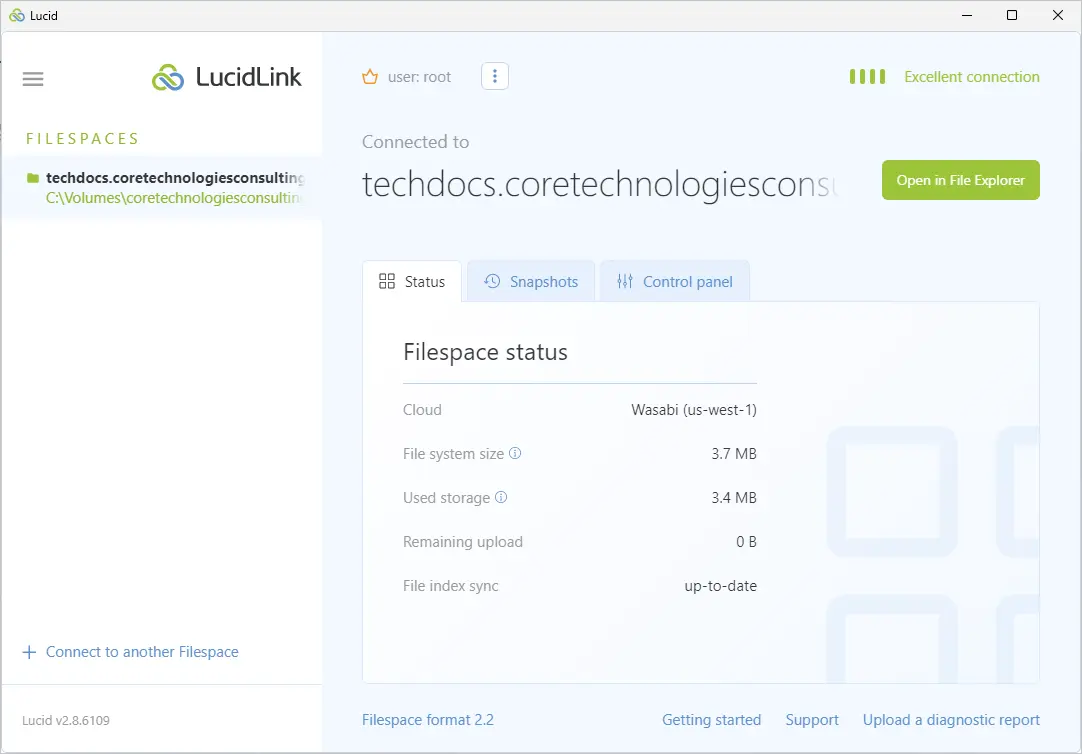
Connect the LucidLink desktop app to your Filespace and make sure that your folder shows up as expected.
For this tutorial, we've connected our company's "techdocs" Filespace:
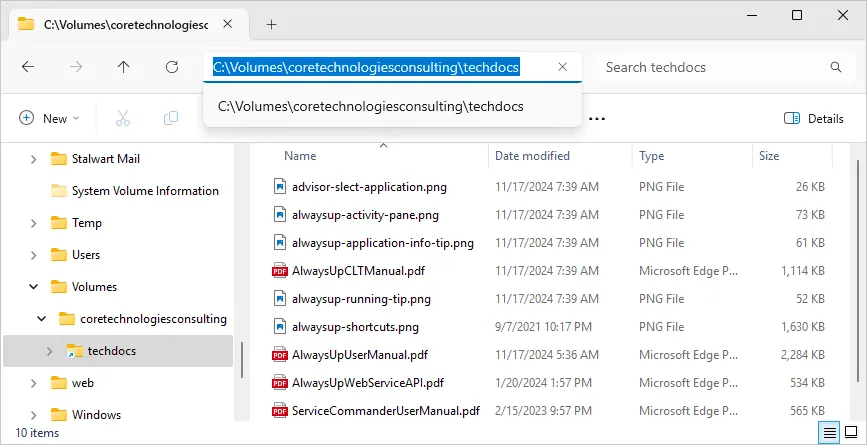
And LucidLink conveniently mapped the folder in Windows Explorer:
-
Download and install AlwaysUp, if necessary.
-
Start AlwaysUp.
-
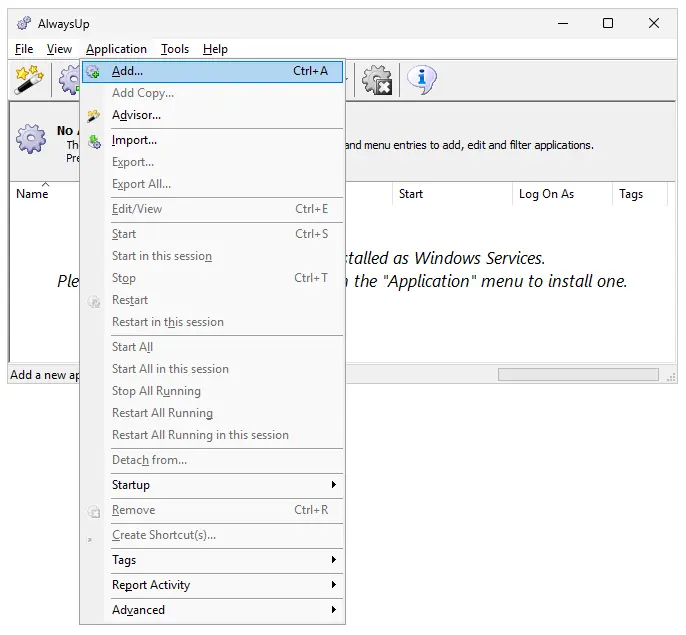
Select Application > Add to open the Add Application window:
-
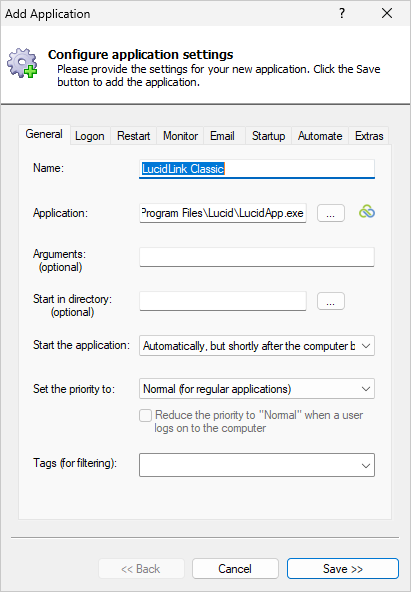
On the General tab:
-
In the Application field, enter the full path to the LucidLink Classic executable.
If you installed LucidLink in the default location, this will be:
C:\Program Files\Lucid\LucidApp.exe
-
In the Start the application field, select Automatically, but shortly after the computer boots.
This setting — which delays startup by about 2 minutes — will ensure that critical system services
(like networking and security) are ready and waiting when LucidLink starts after a reboot.
-
In the Name field, enter the name that you will call the application in AlwaysUp.
We've used LucidLink Classic but please feel free to specify another moniker if you like.
-
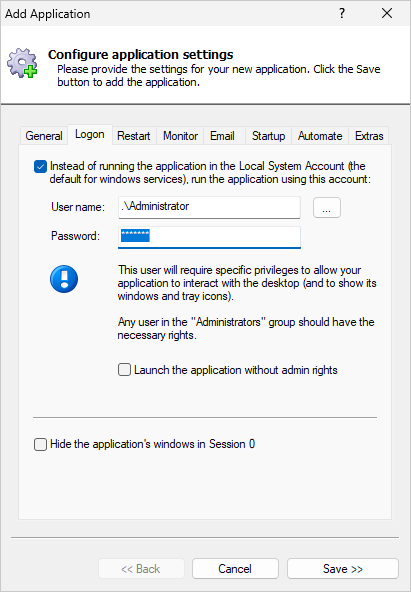
Move to the Logon tab and enter the user name and password of the Windows account in which you installed and use LucidLink Classic.
This is important. LucidLink will not be able to find its settings if it runs in the default system account.
-
We're done configuring LucidLink Classic so click the Save button to record your settings.
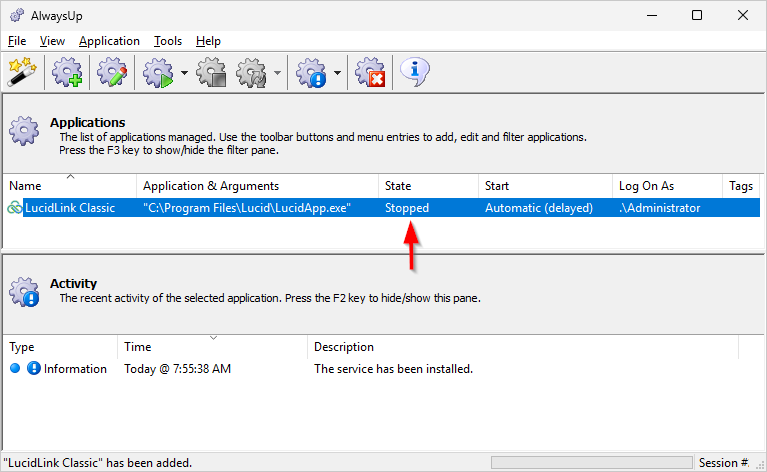
In a couple of seconds, an entry named LucidLink Classic (or whatever you called it) will show up in the AlwaysUp window.
Its state will be "Stopped" though, because it's not yet running:
-
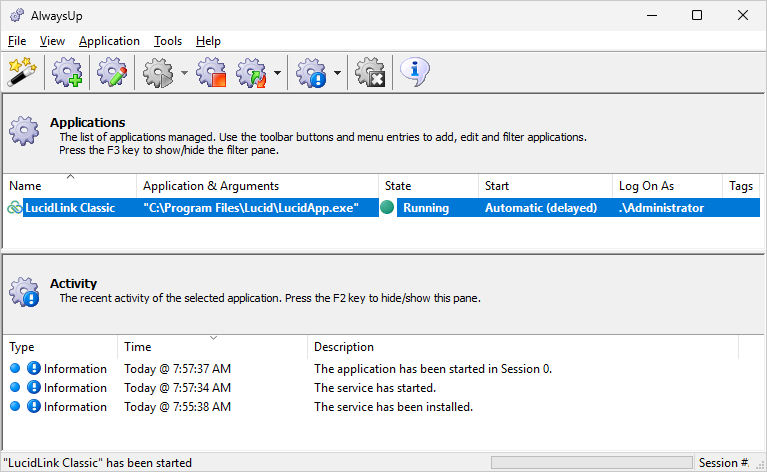
To start LucidLink Classic, choose Application > Start "LucidLink Classic".
The state of the entry should transition to "Running" in a few seconds:
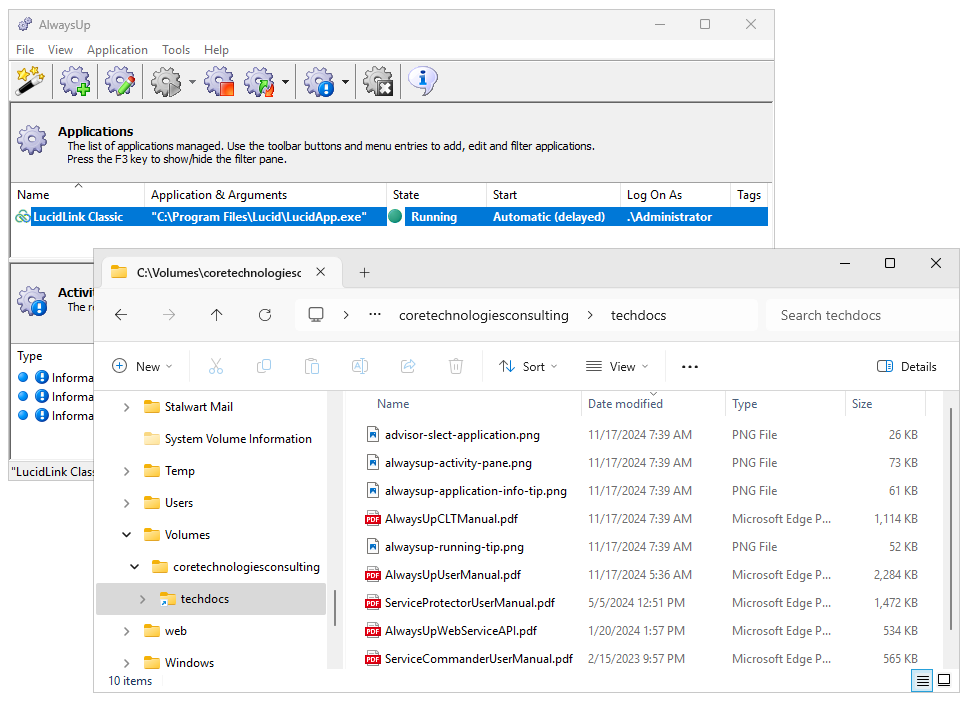
Now would be a good time to switch to Windows Explorer and confirm that your Filespace mapping is available.
Everything looked good on our computer:
Note: With LucidLink Classic running as a Windows Service, your files will be synchronized as normal
but you will no longer see LucidLink Classic's tray icon or windows.
This is because LucidLink is running the background, in Session 0, and
cannot interact with your desktop.
If you wish to see the task tray icon and interact with LucidLink normally, choose
Application > Restart "LucidLink Classic" in this Session to have AlwaysUp relaunch LucidLink Classic visibly on your desktop.
Alternatively, you can stop LucidLink Classic in AlwaysUp and start it normally on your desktop.
-
That's it! Next time your computer boots, LucidLink Classic will start up immediately, in the background, without anyone needing to log on.
Please restart your PC now and test that everything works as expected after Windows comes back to life.
And please feel free to edit LucidLink Classic in AlwaysUp and explore the many other settings that may be appropriate for your environment.
For example, send an email if LucidLink crashes, set a dependency on an important Windows Service, or recycle LucidApp.exe weekly to cure memory leaks.


