AlwaysUp includes advanced tools to make VMware Player start at boot and run 24/7.
The Application Advisor will help you install VMware Player as a Windows Service with all our recommended settings — in just a few clicks. Simply select Advisor from the Application menu and follow the straightforward prompts.
-
Download and install AlwaysUp, if necessary.
-
Download and install VMware Player, if necessary.
Please make a note of the VMware Player installation directory (by default, C:\Program Files\VMware\VMware Player)
as this will be used in subsequent steps.
-
Start VMware Player and ensure that your virtual machine starts and runs properly. Be sure to download and install any additional components you need.
Stop your VM once you are satisfied that everything is working well.
-
Prepare your VM to run unattended. Since you won't be there to babysit the software, you want to avoid those annoying dialog boxes
that occasionally come up to interrupt the action.
-
Start VMware Player and select File > Player Preferences... to open the Preferences window. We recommend that you:
- Uncheck Confirm before closing a virtual machine
- Uncheck both boxes in the Software updates section
Click the OK button to record your changes.
-
Next, highlight your virtual machine and select Virtual Machine > Virtual Machine Settings... from the menu.
In the window that comes up, move to the Options tab, highlight the VMware Tools entry on the left and choose
Update manually (do nothing) on the right.
-
Close VMware Player when you are done.
-
Start AlwaysUp.
-
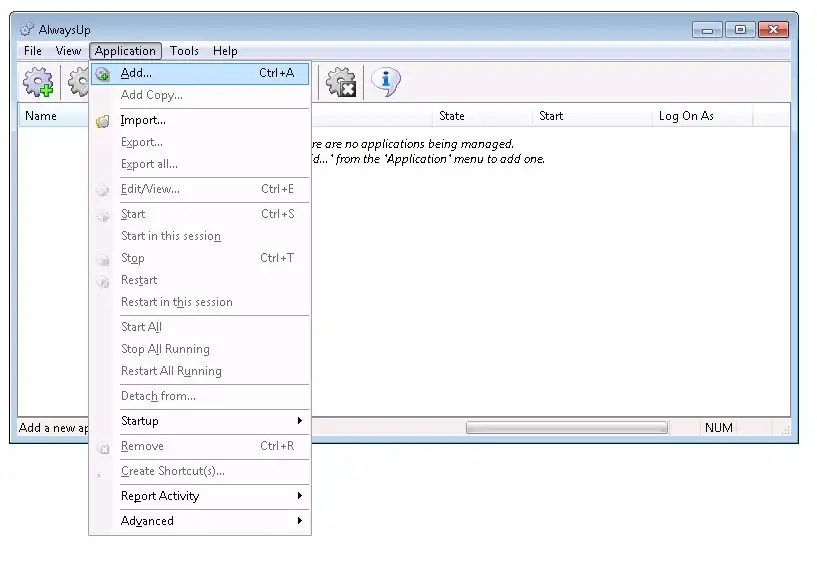
Select Application > Add to open the Add Application window:
-
On the General tab:
-
In the Application field, enter the full path to the VMware Player executable, vmplayer.exe.
If you installed VMware Player in the default location, this is:
C:\Program Files\VMware\VMware Player\vmplayer.exe
-
In the Arguments field, enter the full path to your virtual machine's .VMX file. Be sure to enclose the value in quotes if it contains spaces!
-
In the Name field, enter the name that you will call the application in AlwaysUp.
We have entered VM Appliance but you can specify virtually anything you like.
-
Click over to the Logon tab and enter the user name and password of the account in which you installed, configured and run VMware Player.
The software should run in this account so that it can find its settings (including the ones you set in step 4).
-
Click over to the Startup tab and check the Ensure that the Windows Networking components have started box.
This informs AlwaysUp that VMware Player needs the TCP/IP networking stack to operate.
-
Move to the Extras tab. Since it typically takes a few seconds for a virtual machine to properly shut down, check the
Wait for up to box and set the value to 30 seconds (or more).
Without this, AlwaysUp may get impatient with the slow shutdown and terminate the VMware Player process while it is still working.
-
Click the Save button. In a couple of seconds, an application called VM Appliance will show up in the AlwaysUp window.
It is not yet running though.
-
To start the VMware Player VM, choose Application > Start "VM Appliance" (your application name will be different!).
Note that because of
Session 0 isolation,
your VM won't come up on your desktop. It will be running in the background session where all Windows Services operate.
If you do wish to see the console window, select Application > Restart "VM Appliance" in this session,
which will quickly stop your VM and start it again on your desktop.
-
That's it! Next time your computer boots, your VMware Player VM will start up immediately, before anyone logs on.
We encourage you to edit your application in AlwaysUp and check out the many other settings that may be appropriate for your environment (such as boosting priority, sending email notifications, etc.).


