-
Download and install FullSync for Windows, if necessary.
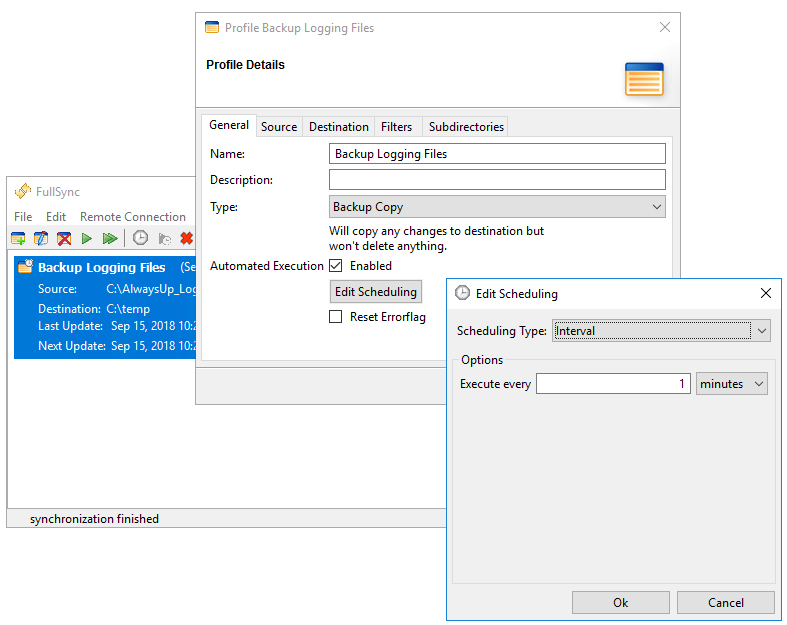
For this tutorial, we have created a profile to make a backup copy of our log file folder, automatically every 1 minute:
Be sure to setup your own automatically scheduled profiles and confirm that they work as expected!
-
Download and install AlwaysUp, if necessary.
-
Start AlwaysUp.
-
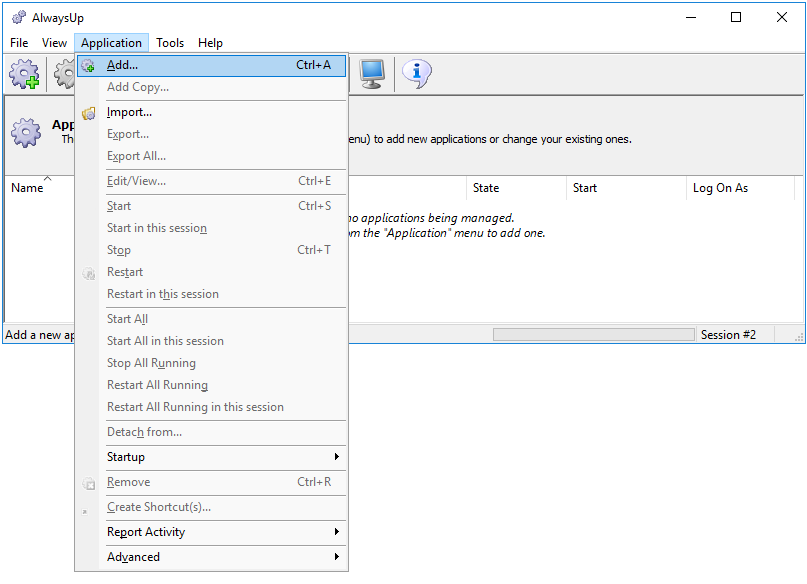
Select Application > Add to open the Add Application window:
-
On the General tab:
-
In the Application field, enter the full path to the FullSync executable, fullsync.exe.
You will likely find it in the default installation folder, making the path:
C:\Program Files (x86)\FullSync\FullSync\fullsync.exe
-
In the Start the application field, select Automatically, but shortly after the computer boots. With this setting, FullSync will start 1-2 minutes after a reboot — after critical windows services
(such as networking and domain authentication) have fully initialized and are ready to go.
-
In the Name field, enter the name that you will call the application in AlwaysUp.
We have stuck with the default of Fullsync but you can specify another name if you like.
-
Click over to the Logon tab, check the box at the top and enter the username and password of the Windows account where you installed FullSync.
This is very important: FullSync will not be able to find the profiles you set up if it runs in the default system account!
Are you running on Windows 7, 8 or Server 2012? You should probably check the Hide the application's windows in Session 0 box to prevent annoying alerts from the Interactive Services Detection service.
(This is not necessary for the latest versions of Windows, where access to Session 0 has been removed.)
-
Switch to the Startup tab and check the Ensure that the Windows Networking components have started box.
FullSync needs TCP/IP networking to do its work.
We also recommend checking both the Stop all copies of the application running on this computer and Also whenever the application is restarted boxes.
As FullSync will only run a single instance at a time, this setting ensures that the AlwaysUp instance has "preference" over all others.
-
We are now done configuring FullSync to run as a service so click the Save >> button to record your settings.
After a couple of seconds, an entry called Fullsync will appear in the AlwaysUp window.
The state will be "Stopped" (FullSync hasn't been started yet):
-
And finally, before we launch FullSync from AlwaysUp,
let's make sure that file synchronization will start without you having to click the "Start Scheduler" button ( ).
).
Start FullSync from the desktop icon, if necessary.
-
Select Edit > Preferences from the menu:
-
In the Interface section, check the autostart Scheduler box:
Click the Ok button to record your changes.
Exit FullSync.
-
To start FullSync from AlwaysUp, choose Application > Start "Fullsync". The program will start invisibly in the background, on the
isolated Session 0. You will NOT see FullSync's window on your desktop.
If you ever need to see FullSync's window, select Application > Restart "Fullsync" in this session to bring the program visibly onto your desktop.
-
FullSync should be doing its thing so now would be a great time to check that it is working properly. If you have a frequently run profile like we do, you can:
Open a File Explorer window.
Go to the profile's "source folder" and create a new file there.
Wait for a few minutes — enough time for the profile to have been run by FullSync.
Browse to the profile's "destination" folder and confirm that the file you created is there.
-
That's it! Next time your computer boots, FullSync will start up immediately, before anyone logs on.
We encourage you to edit FullSync in AlwaysUp and check out the many other settings that may be appropriate for your environment.
For example, send email when FullSync crashes or stops for any reason, boost the priority of the process,
automatically restart the program nightly to cure memory leaks, and much more.


